The Old Matelot


matelot;
noun,
sailor; from the French mat-el-oh (plural matelots)
A slang expression, chiefly in Britain, may also mean mate or companion.

Welcome to the Old Matelots' blog, my first (and probably last!) journalistic endeavour. Watch its development and evolution as I make the transition into retirement and the live-aboard, off the grid lifestyle on the sailing yacht, Circe. Follow my fortunes (and misfortunes) in the posts as I work to rehabilitate my home on the water.

UPDATE - Due major back-to-back relationship and health issues during 2017 & 2018 I was involuntarily beached and forced to let Circe go. The blog will remain up for the foreseeable future for informational benefit to other owners of these magnificent boats.


*******************************************************************************************************************************************************************


2011-07-21

Nicro Solar Vents

In an earlier post we described fitting interior grilles to the dorade vents in an attempt to stop drafts and give us an alternative to going on deck and rotating the dorades when it was wet and the wind direction changes while we are at the slip. On the hook is much less of a problem as the boat almost always follows the wind shifts.


The interior grilles worked well enough but didn't solve the basic dorade problems with directional wind changes and gave no real control over air-flow. 


Bigger problems for us were that we thought the dorades were butt ugly and were a tripping hazard for the unwary crew member travelling between the side decks and the mast. The scoops had bad UV damage and we briefly considered fitting new low-profile scoops to address the appearance and tripping issues but soon realised we were putting off the inevitable......the dorades just had to go. We wanted active, not passive ventilation and going solar seemed the best way to achieve that goal.


We had good luck with solar vents on our last boat although they were always a bit pricey, so we were happy to see some Nicro Day & Night Plus units on sale at WM. As WM isn't usually a place for bargains it was a pleasant change to snag a pair for $99 each. We have seen them around $125 - $130 elsewhere.


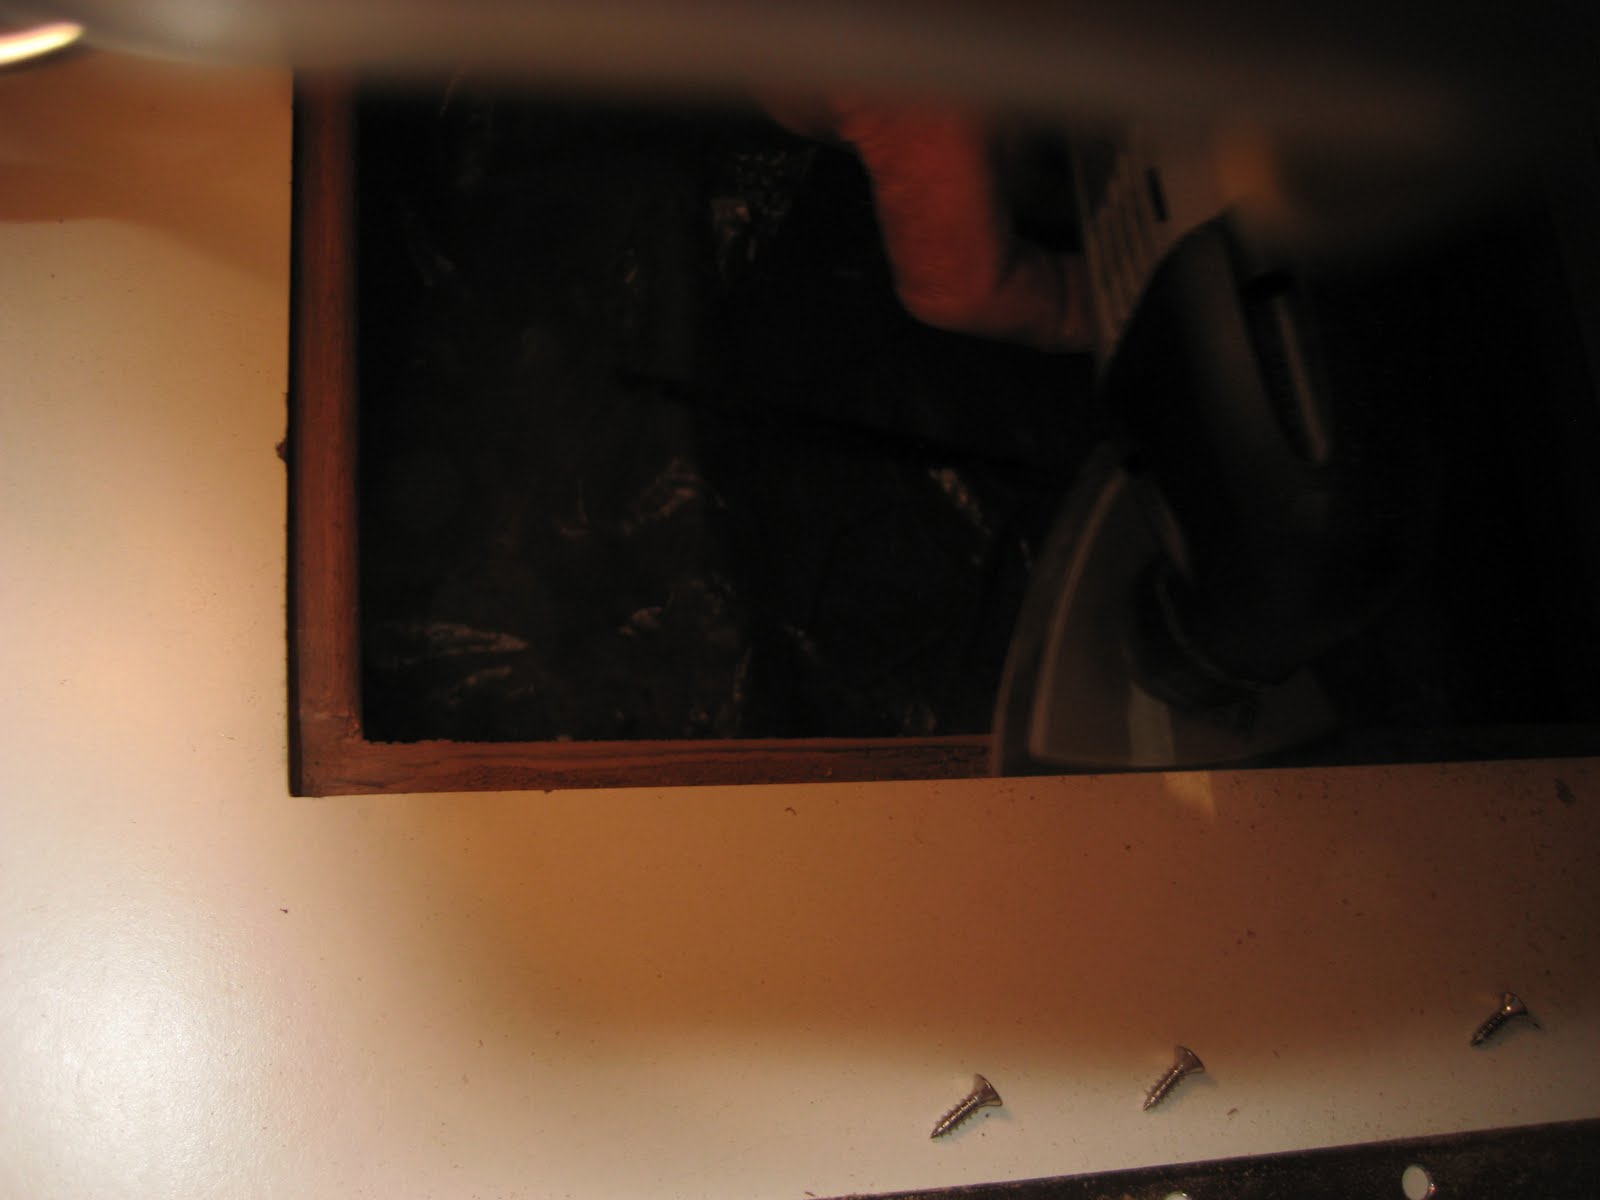
Our first step in the conversion was to remove the dorade bodies, which went fairly quickly. Lifting the dorade bodies off the bases exposed several layers of sealant plastered all over everything. This shot shows the length of the screws used to hold them onto the bases, they were barely engaged!


Evidently there had been some leaks in the past because the goop had been layered all over the place. It took a lot of scraping and prying to get the bases off the cabin roof. There was so much sealant that we couldn't get the bases off in one piece. We had to split them to get them out.


From the 'battle scars' under the old caulk it seemed that the dorades had been off several times before. The old dorade base had a 3.5 inch mounting hole but the new Day/Night base needed a 3.75 inch hole. We didn't have a suitable hole saw, plus a plug is needed for the existing hole to use a hole saw, so we had to break out the old faithfull.....the Rotary Dremel.


It took quite a while with the small cutter but we were able to open up the hole in the cabin roof to the correct size. Gotta love the Dremels.....they are so versatile.


To minimise the mess in the Pullman berth we piled up the cushions and backrests from the sofa and put a pail under the hole in the cabin roof to catch the worst of the fall-out from the Dremeling....is that a word?.


Once the hole was opened up we made some test fits of the new Nicro bases and then caulked them in place.


After a couple of adjustments the inside trim rings and bug screens were fitted.


Finally the solar vent assemblies were installed.


The new Nicro Vents were supplied with two fans, one that makes the vent 'blow' and one that makes it 'suck'. We set the one over the hanging locker to suck air down into the cabin and the one over the Pullman berth to blow it back out, creating continuous circulation to ventilate the centre of the boat.


Next stop the dumpster...... best place for them!


This project was a major improvement in every way. We have complete control of airflow, the wind direction is irrelevant to performance, we have an integral bug screen, we have continuous active ventilation when the boat is closed up and there is minimal tripping risk, plus........the Nicro vents look good! 

2011-07-04

Counter Top Hatch

Anyone who has read through our posts here on the blog will have noticed that we found numerous things we really like about the Islander Freeport, along with some we really don't! Some of the things we don't like are such that we can't realistically change them, so we are learning to live with them. But some things can be changed and while some changes are big, time consuming and expensive others are fairly simple and inexpensive. This post describes a quick easy fix to a pet peeve that we have, regarding one of the galley access hatches. 

Circe's galley has several hatches in the counter-tops to access storage areas below. The aft counter-top originally had four hatches to access the ice-box (there will be two less when our new fridge/freezer conversion is finished) and the forward counter-top has one, to access a food storage area. All five hatches were loose fitting and unsealed. To access the storage areas the hatch cover must be lifted out of its recess and set aside somewhere while items are added to or removed from the storage. Finally the cover is replaced.

The loose hatch covers and the need to lift them in and out is a pain and if there are already items on the counter-top when access is needed then the process becomes even more inconvenient. In the event of a knockdown or roll-over things can become downright dangerous! 


Here is the original loose hatch cover for the food storage area under the counter next to the sink.


We decided a hinged cover with a prop or stay would be a big improvement. Here we are marking screw hole positions for a short piece of piano hinge going onto the edge of the counter-top.


We had to cut a small recess in the hatch cover support cleat to allow the hinge to work. Dremels rule!


Close up of the hinge clearance notch.


We had to trim the edge of the hatch cover by an amount equal to the thickness of the hinge, about 1/8 inch. We used the Ryobi trimmer/router that we recently bought to speed up the finish work on the new Formica laminate for the fridge/freezer counter. Another great little tool!


Hinge going onto the modified hatch cover. 


(Note the  salon windows temporarily duct taped in place after removal to make templates for Bomon Marine, who are building us a new set of custom safety glass replacements.....a post on that project will be coming later in the year)


The finished job with the spring lid stay in place. Much better, convenient and more user friendly. One more item crossed off 'The List'.